The objective of this project was to create a 3D model of a head. Different methods were used.
1. Geometric Modeling Based on Reference Pictures
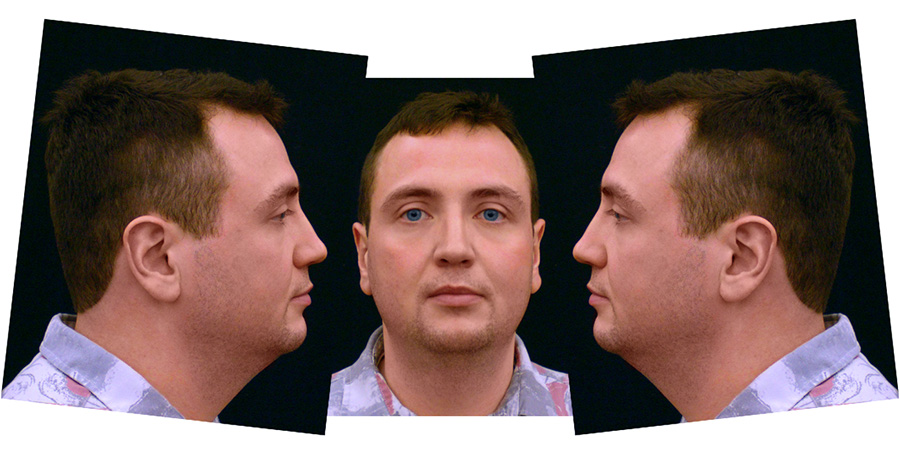
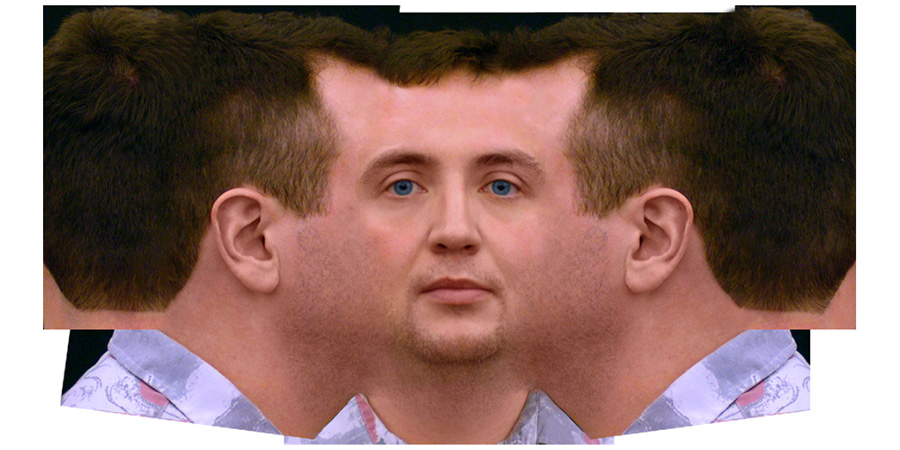
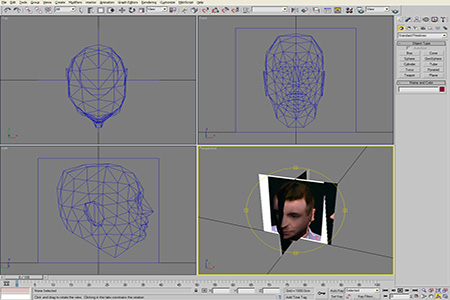
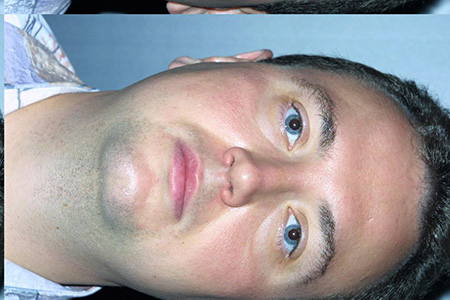
I started with two pictures - a front view and a side view. The two pictures were merged and stitched together in Photoshop. Afterwards two perpendicular planes were set up in 3D Studio MAX and the mesh was created, by aligning the points to the two reference planes. Total time for this model was 8 hours (the next one would be faster).
 |
|
First rough alignment of the pictures. Mostly turning and scaling. Colors need to be matched. |
|
 |
|
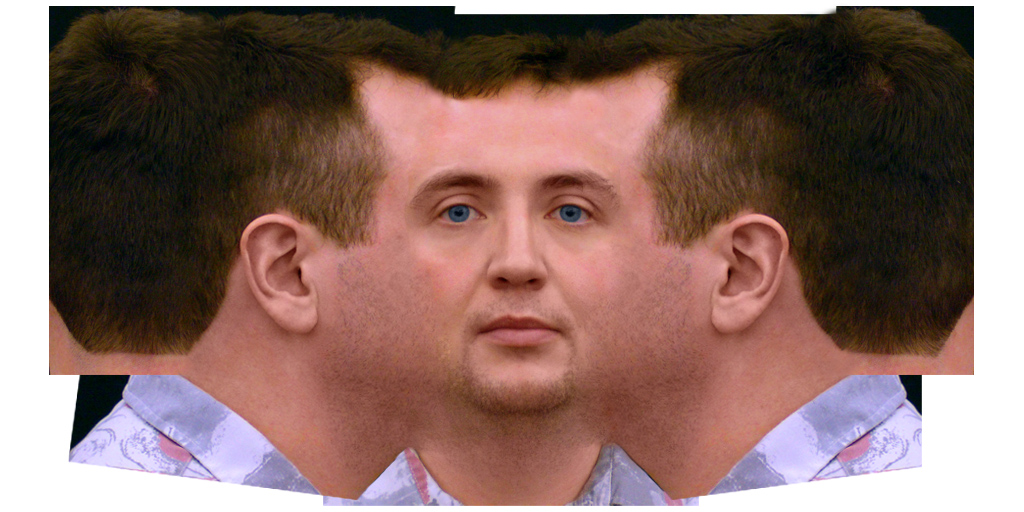
Pictures moved closer together and stitched. |
|
 |
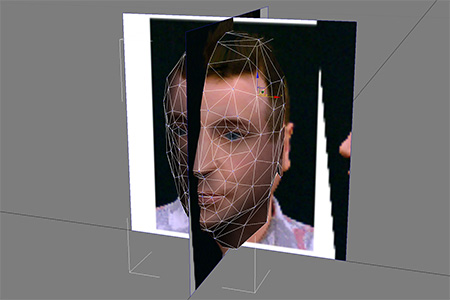 |
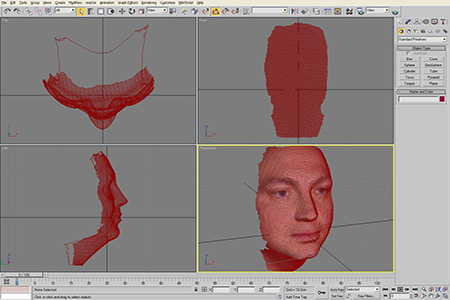
Editing the model in 3D Studio MAX |
|
 |
 |
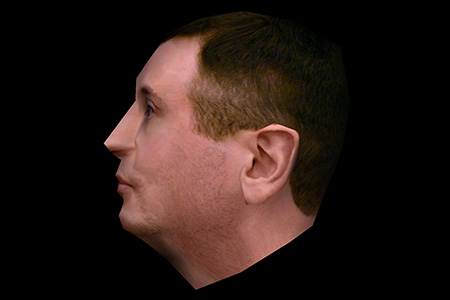
The final VRML model |
|
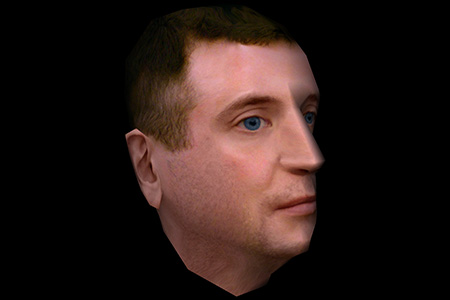
Here is the VRML model and the final texture:
Drag to rotate · scroll or pinch to zoom
2. Handyscan 3D
Testing the Handyscan 3D device. The marker setup and the scan was roughly 20 minutes. The model needed a lot of cleanup...
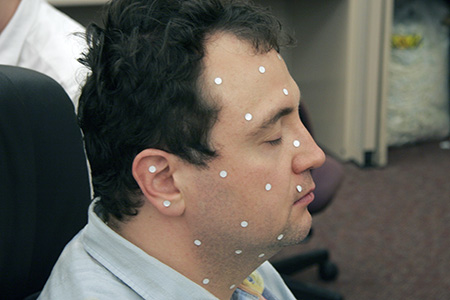 Marker setup |
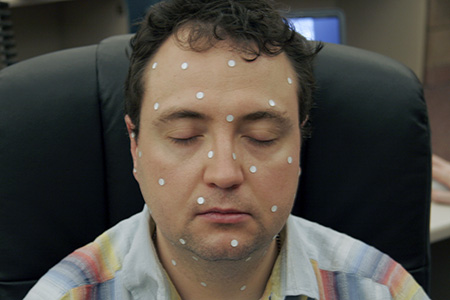 Marker setup |
 Getting comfortable |
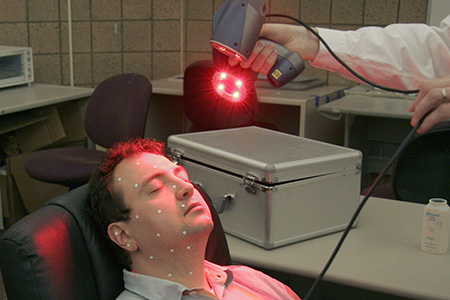 Scanning |
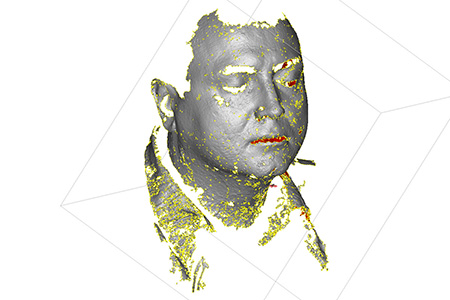 Raw data |
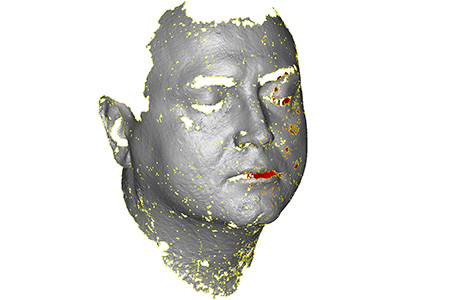 Removing noise |
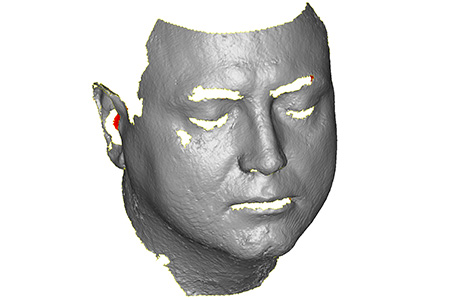 Fixing smaller holes |
|
 |
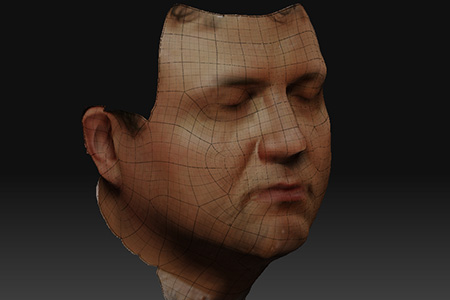 |
I spent 5 hours of cleaning up by hand. Afterwards we tried ZBrush, which has a clever tool called “Retopologization”. It allows to create new geometry by snapping to the old mesh. This was done based of the original scan in less than one hour including the texture (courtesy of Eric Maslowski).
3. Structured Light Scanning
Eyetronics had a great demo at SIGGRAPH 2002, where they would take two pictures - one of just the face (texture) and one of the face while a grid was projected on the face (structured-light 3D scanner). The 3D coordinates where directly derived from the second image in a few seconds. Total time for this model was less than 2 minutes (only a partial model though).
 The model in 3D Studio MAX |
 The texture |
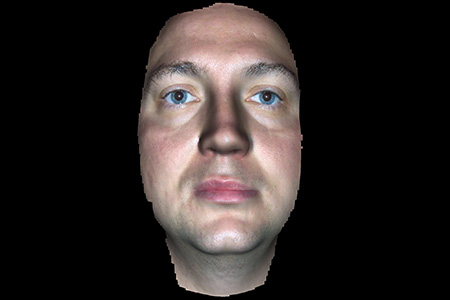 The final model |
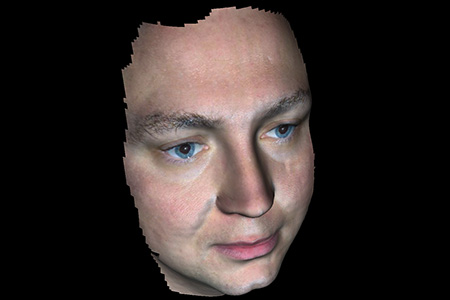 The final model |
Here is the VRML model and the texture:
Drag to rotate · scroll or pinch to zoom