Sanguino
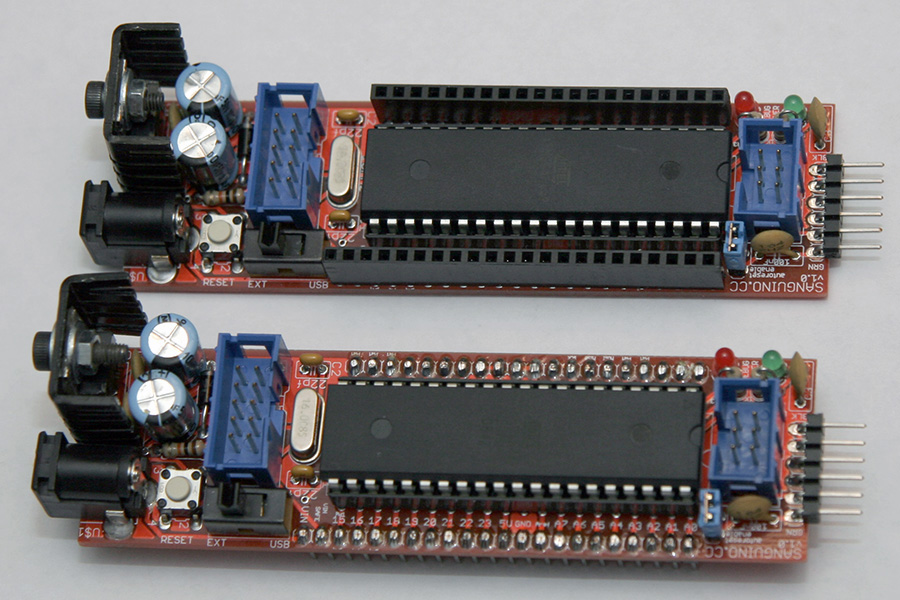
The Sanguino is an amazing board and a nice step up from the Arduino. It does not come with an USB interface, but I personally find that this is a plus. If you want to play around with microcontrollers, you should just invest in an FTDI cable (which is pretty expensive, but you only need one). The Boarduino and Sanguino are much more inexpensive and than the typical Arduino board and are also much smaller. You can buy a Sanguino kit from RepRap for $25. More memory, more I/O pins, more UARTs - more fun!
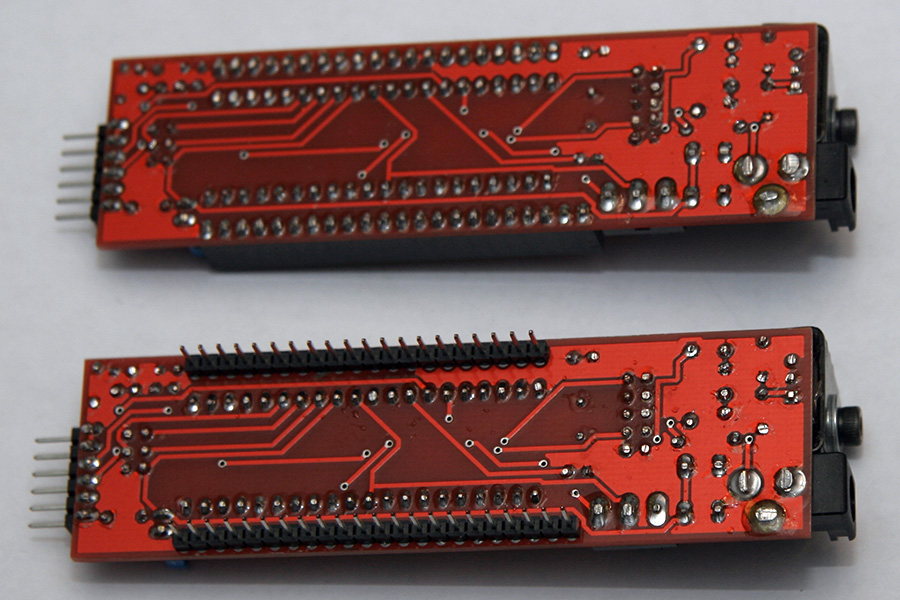
The best thing is, that you can decide what kind of header you want to use. I bought two and put male headers on one (for bread boards) and female headers on the other (for direct wiring to the sensors).
 |
 |
Setup
The setup used to be very confusing and complicated - pretty much a hack. Fortunately, everything got much better with the Arduino version 0018, which is much more flexible for 3rd party installations. So, just follow these easy steps:
- Start with a clean install of the latest version of Arduino (should be 0018)
- Download the latest version of the Sanguino software (should be Sanguino-0018r1_1_4.zip)
- Unpack and move the Sanguino directory into the Arduino hardware directory (on Windows it is C:\Program Files\arduino-0018\hardware)
- Start Arduino and select Tools -> Board -> Sanguino
Here is a quick program to test the installation. The LED is connected to pin 0 (not 13!).
/** Blink */

#define PIN_LED 0               // LED connected to digital pin 0

void setup()                    // run once, when the sketch starts
{
  pinMode(PIN_LED, OUTPUT);     // sets the digital pin as output
}

void loop()                     // run over and over again
{
  digitalWrite(PIN_LED, HIGH);  // sets the LED on
  delay(20);
  digitalWrite(PIN_LED, LOW);   // sets the LED off
  delay(180);
}